3D Effects
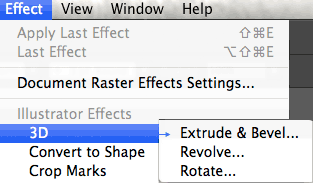 3D effects are covered towards the end of chapter 12 in the older books.
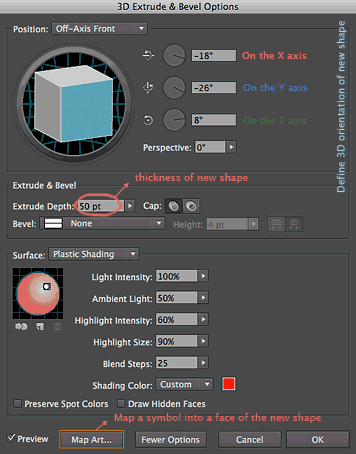
Illustrator has 3 types:The Extrude&Bevel effect, that creates an appeareance of a 3 dimensional object based on a flat shape; Revolve works sweeping a line around an axis, and Rotate, that uses the Z axis to rotate artwork in 3D space.
They are slightly covered on pages 361-365.
Help page for 3D Effects from Adobe
>
Video: @ Linkedin: the 3 types of 3D Effects, HERE (long link)
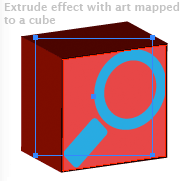 After applying a 3D effect, what you have is still a 2D path.
Open the Appeareance panel to check elements and be able to re-edit the effect.
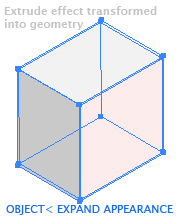
Some times you might want to work on more detail on each face to the 3D object: you can transform the appearance of a 3D effect
into real geometry by applying Object<Expand Appearance.
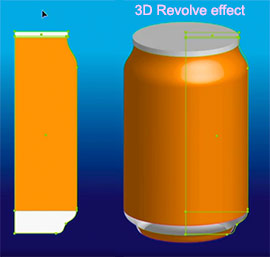 The revolve effect is very effective to create certain types of volumes, that are structured around one central axis (cilinders, bowls, bottles...)
Remember that what gives the color to the 3D object in a revolve effect is the STROKE color, not the fill.
Video: Understanding the 3D Revolve effect
Video: Using the revolve effect to create a can of soda
Video: Editing a revole effect
Video: How to map a logo or artwork to a 3D object effect
![Revolve o[tions dialog box]](Images/3D_rovolve_options.jpg)
When using a 3D effect, investigate the Revolve Dialog window, so you understand the different options.
Remember to release the whole Shading panel inside the dialog window by clicking on "More options" on the lower menu.The Fewer options button will close it back.
Click on Preview to see what you are designing, and drag carefully the upper cube to change the position of the object in 3D space.
