- open your completed comp in photoshop, make sure that this is your original PSD file
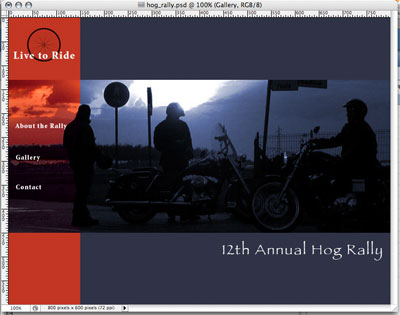
- make sure that your slices or guides are visible, then use the rectangular marquee to draw a selection around the slice where you wish to create the rollover (you must do this for each rollover, so you will need to move or redraw the marquee for each one)

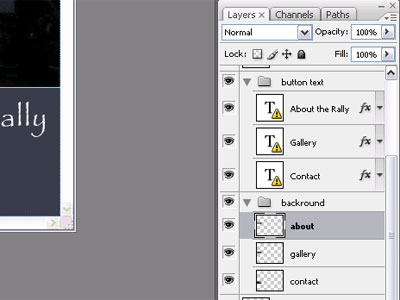
- you will now create new layers that contain your rollover images (in this example, I placed them in a layer group titled background)
- there are tons of different ways to do this, I will give you two examples:
- use part of the images and change it using adjustments, filters, etc (in this example, I selected the layer that contained the nav bar image)
- using the rectangular marquee, select the pixels you want to copy and then paste in to new layers.
- with the new layer selected, add a filter, adjustment, etc
- make sure you leave the visibility for these layers turned on
- fill the selection with a color, pattern or a gradient (you must create a separate layer for each rollover)
- when you are finished, your layers pallete should look something like this:
- use part of the images and change it using adjustments, filters, etc (in this example, I selected the layer that contained the nav bar image)
Note: I have a separate layer for each of my rollovers: about, gallery, and contact
- you should now see the effects you created on your image
Note: I added a chalk and charcoal filter to the layers
