vector drawing techniques
This week we will look at basic pen tool techniques. What is the pen tool and what is it for? The pen tool is used to draw paths which can be used to create vector-based graphics. Why draw vector-based graphics? Vector objects are based on mathmatical formulas and are pixel and therefore resolution independent. That means that you can resize them without out a loss of quality, unlike rasterized or bitmap graphics that are pixel dependent. However, since a path contains no pixels, it cannot be printed or viewed on the web until we fill or stoke the path with pixels. The pen tool can also be used to make a complex selection as paths can be converted into selections and vice versa.
You will learn how to draw straight and curved paths and combinations of the two. You will also learn how to save a path in the paths palette, this gives you the option to then copy the path to another document just like you can with an alpha mask or a selection. You will also learn how to fill and stroke paths which you can do with any brush-like tool in photoshop. You will also edit paths using the path editing tools. When using the pen tool to trace a complex selection, you will create a rough outline of the path and then refine it using these tools. Then, you will learn how to convert a path to a selection and convert a selection to a path.
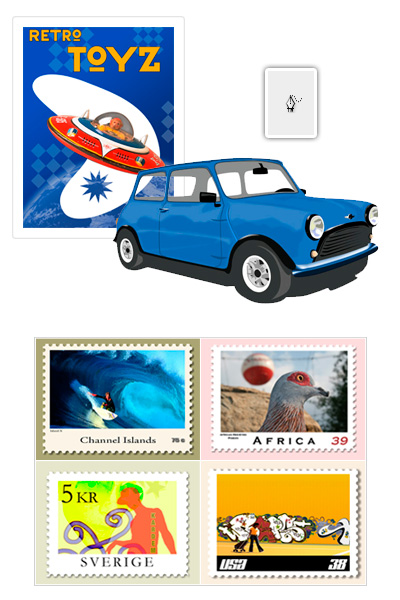
Vector graphic are valuable in that they retain their quality whether they are moved, resized or have their color changed. However, bitmap or pixel based images have the advantage of being able to represent more subtle variations in tone and color. As a result, bitmap or raster images are better suited for continuous-tone images such as photographs, while vector graphics are more suited for illustruations, type, and graphics.
In this lesson, you will learn more complex tools for creating vector images, such as layer shapes. You will employ these tools to combine or subtract different paths or shapes, convert bitmap to vector images and vice versa. Note that layer shapes are still paths or vectors which are automatically filled or stroked as you draw or create them. As a result, you can still edit them like you do any path.
It is very important that you pay attention to the tool options bar in this lesson. If your options are not set correctly and in the correct order, your paths will not be drawn correctly.
With the pen tool or the shape tool selected, you can choose the following draw options:
- Create a new shape
 to create a new shape layer, the shape layer contains two components: a fill and a shape (both the fill and the shape can be edited)
 - Create a new path
 to create a work path
 - Create a rasterized shape
 to create a rasterized (or bitmap) shape by making a selection and filling it with the foreground color. You cannot edit a rasterized shape as a vector object. Raster shapes are created using the current foreground color
You can choose the following path area options to determine how overlapping path components intersect:
- Add to Path Area
 to add the new area to overlapping path areas.
 - Subtract from Path Area
 to remove the new area from the overlapping path area.
 - Intersect Path Areas
 to restrict the path to the intersection of the new area and the existing area.
 - Exclude Overlapping Path Areas
 to exclude the overlap area in the consolidated path.
Be sure to explore all the draw options available to you as the book is limited in the scope of what they ask you to apply. Play with the tools and options and see how they interact with each other.
I don't believe that the book gives you enough instruction on how to use the pen tool, therefore, I have attached an extra lesson for you to practice with. I highly recommend that you do this lesson.
Download these files:
Photoshop basic pen tool techniques
straight.psd
curves.psd
combo.psd
edit.psd