In the previous page we have already set the architecture of the Pull-Down menu, now we will create a mask for the animation and we will implement the Section's content.
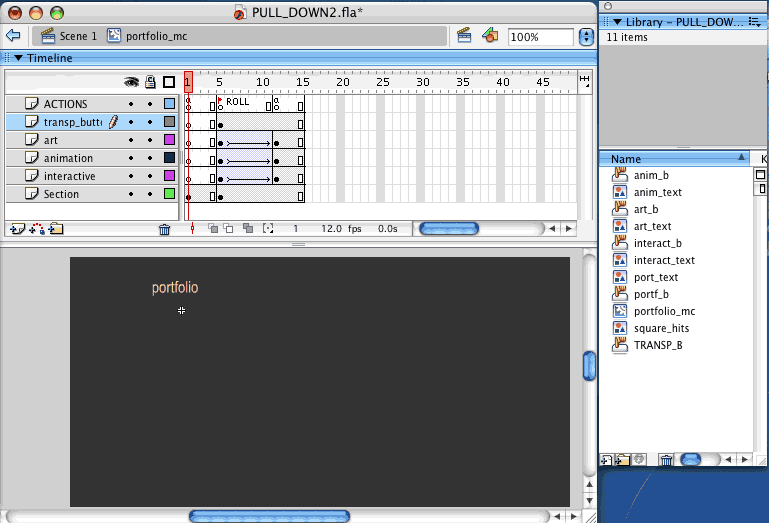
| STEP 11. | We define a mask with the area where the animation is taking place. You don't want to see subsection names "flying" in front of your section name. |
|
 |
|
|
| TEST | Now the art, animation and interactive buttons are under a mask and don't show up behind or in-between the letters in "portfolio". | |
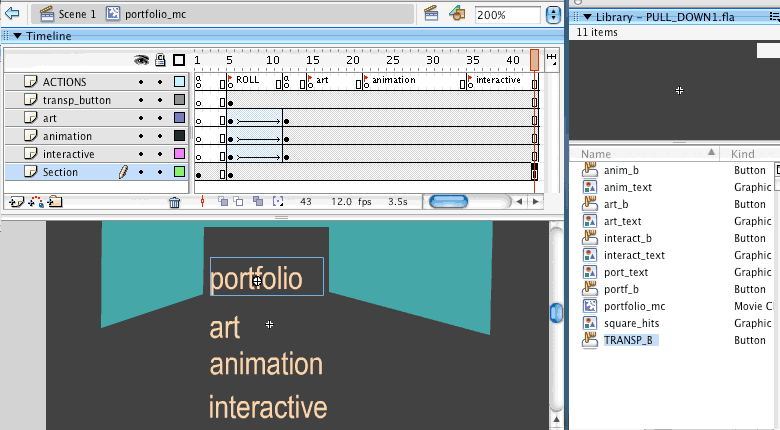
| STEP 12. | Add frames to the Section's timeline and add keyframes and Frame-labels for each one of the subsections (in this case, frame labels "art", "animation" and "interactive"). |
|
 |
||
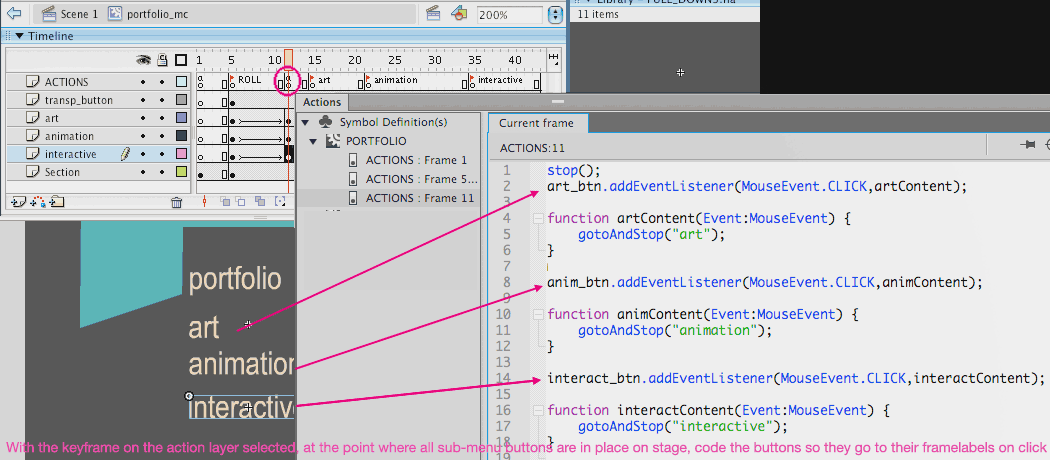
| STEP 13. | Once Add an action to each button so they go to their Frame label when pressed. Notice that we add the action underneath the stop, when the animation is finished. |
|
 |
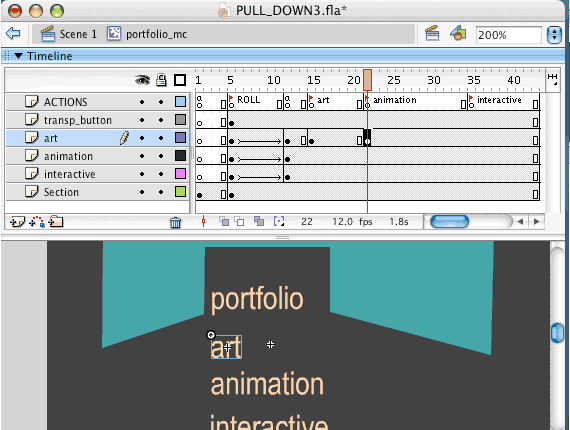
| STEP 14. | Add Now we are going to set keyframes in each one of the subsection layers. Set a keyframe in the Art layer underneath the next subsection (When we are in the animation subsection, we want the art button to be active). WARNING: If you don't follow the instructions in this part, you will end with buttons that don't work under certain subsections. This is a crucial step. |
||||||||||
 |
|
||||||||||
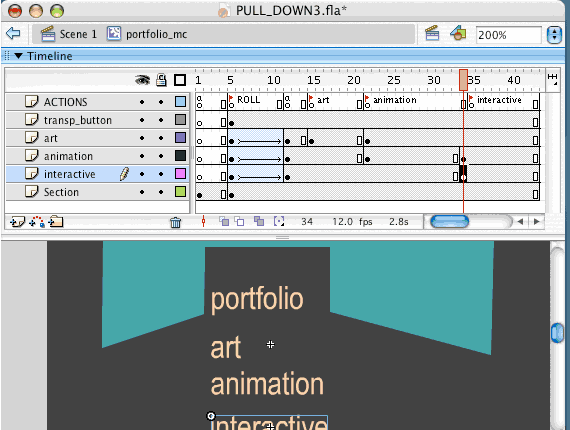
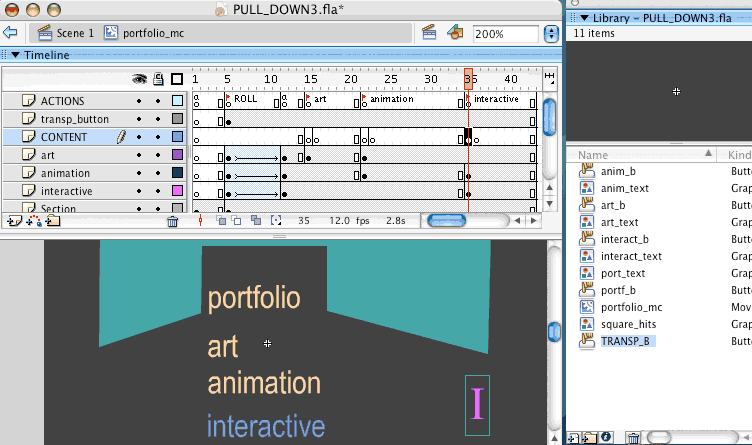
| STEP 15. | Set a keyframe in the Animation layer (for the animation button) right underneath the "animation" label (we are going to change the color of the subsection that you are IN as a Navigation-help hint for the user) Set a keyframe in the Animation layer underneath the next subsection (When we are in the "interactive subsection" we want the animation button to be active-with its action attached to it). Finally set a keyframe in the Interactive layer, right underneath the "interactive" label. |
||||||||||
 |
|||||||||||
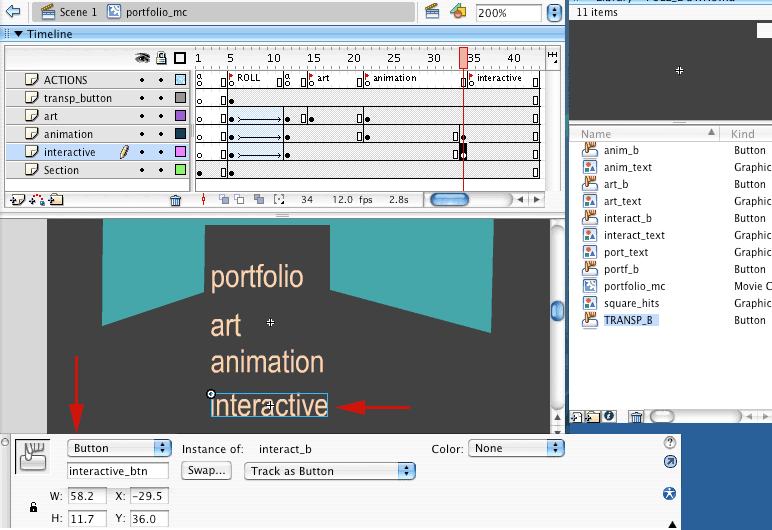
| STEP 16. | You here you can see an animated example of how to make an instance of a Button to behave as a Graphic symbol (you loose the script attached to it, since graphics don't contain Action Scripting). After that you see how to set the graphic as a single frame (theoretically the button has a Timeline, so the graphic will loop between the Up, Over,Down and Hit keyframes). Finally how to tint the name of the subsection for Navigation purposes. |
||||||||||
 |
|||||||||||
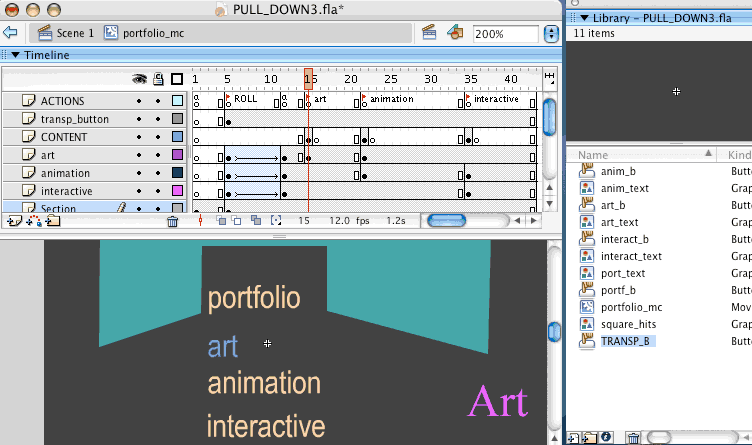
| STEP 17. | Follow the same process with the instance of "Animation". MAKE SURE THAT YOU ARE CHANGING THE ANIMATION BUTTON underneath the "animation Frame-label". |
||||||||||
|
 |
||||||||||
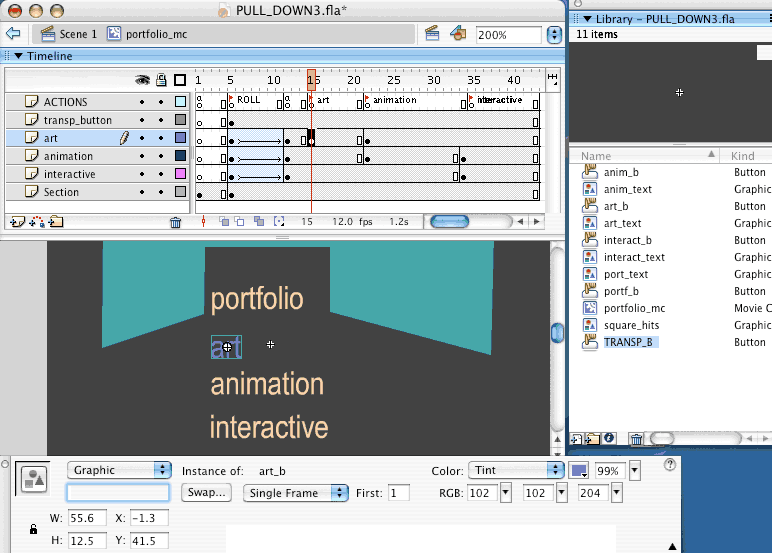
| STEP 18. | Follow the same process with the right instance of "Art". MAKE SURE THAT YOU ARE CHANGING THE ART BUTTON underneath the "art Frame-label". |
||||||||||
|
 |
||||||||||
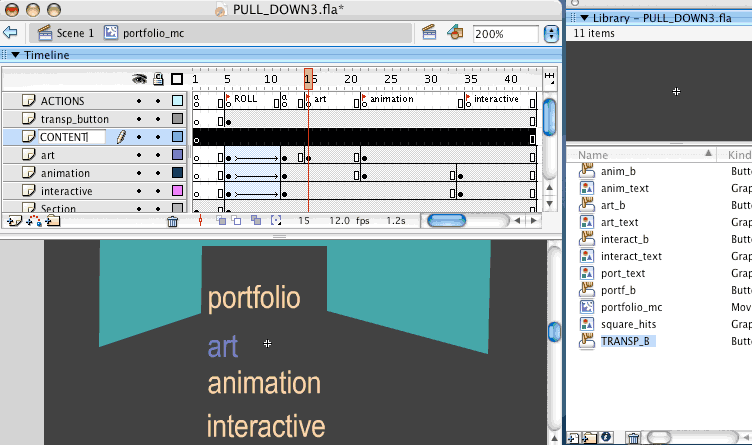
| STEP 19. | Add a new fresh layer for the Subsection's CONTENT. | ||||||||||
 |
|||||||||||
| STEP 20. | Make keyframes underneath the 3 subsection Frame-labels. Make also an extra keyframe right after, so the content for each subsection lives only in it's own specific frame (the buttons are programmed to gotoAndStop to each one of the Frame-labels). If the subsection content includes animation, you will have to place a Movie-clip in the subsection-only keyframe. | ||||||||||
 |
|||||||||||
| STEP 21. FINAL |
Add some content in each of the subsection's frame ( I am including an initial on each frame so we can TEST the Navigation at work) | ||||||||||
 |
|||||||||||
| FINAL TEST |
See the finished Section with Pull-down menu, three subsections with subsection navigation and content placement. The second flash shows the same section repeated 3 times on the Main Timeline. This way you can test the look and feel of a complete Navigation with Pull down menu. |
||||||||||