
Adding images
Garrick Chow
This video shows you how to insert images into a web page using the Assets panel, the Files panel, and the Insert bar. It also demonstrates the importance of keeping images within the local site folder, and the importance of adding ALT text for accessibility.
Requirements
To follow along with this article, you will need the following software and files:
- Dreamweaver CS3
- Sample file (ZIP, 4.8 MB)
Watch this tutorial in the Adobe Creative Suite 3 Video Workshop.
Adding images to web pages
- Start Dreamweaver CS3. The Start page will open automatically. Choose Dreamweaver Site from the Create New heading. This opens the Site Definition dialog box.
- Click the Advanced tab in the Site Definition menu. Type Aquo Site in the Site Name text box.
- Next to the Local Root Folder text box, click the folder icon. Selecting a folder defines your site.
- In Windows, choose the Aquo_Site without opening any subfolders, and click the Select button. In Mac OS, select the Aquo_Site folder and then click Choose.
-
Click OK to close the Site Definition dialog box. Dreamweaver scans and opens the site, and displays its subfolders and files in the Files panel (see Figure 1). Choose Window > Files to open the panel if it is hidden.
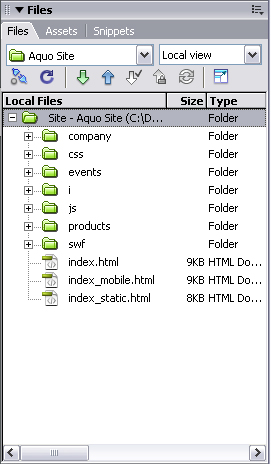
Figure 1: The files for the defined site appear in the Files panel.
- Expand the company folder and double-click company_text.html to open it.
- Choose the Files panel and choose the Assets tab. The Assets panel is a big catalog of all the images, videos, and other assets on your site.
- Notice the different category icons running down the left side of the panel. Some images are selected by default; you can also choose Colors, Links, Flash Content, Shockwave Content, video clips, and so on.
-
Browse through the images by clicking any image to see a preview at the top of the Assets panel (see Figure 2).
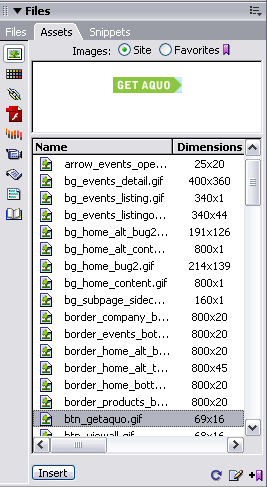
Figure 2: The assets for the defined site appear in the Assets panel.
- Go to the Document window, select the heading"Humble Beginnings," and click Delete.
- From the Assets panel, drag Hdr_Company_Hbeginnings to the Document window.
-
Drag the image to before the first paragraph; as you drag, an insertion pointer follows your mouse movement. Release the mouse button to insert the image. The Image Tab Accessibility Attributes dialog box appears.
This dialog box addresses image accessibility- a major concern for most web developers today. You want to make your web page as accessible as possible to people with vision problems as well as to those viewing your page on small or mobile web devices such as cell phones or PDAs, by adding good descriptive text for every image on your page. You can do this using the Alternate Text text box. Alternate text describes the image you're about to insert in the document, and although it is not displayed visually in the browser window, it tells people with vision problems, who access the contents of HTML pages with special software to read the content aloud, exactly what the image is.
- Because the image is just a picture of text, in the Alternate text box type humble beginnings. Click OK. The image is added to the page.
-
In the Property inspector, notice that the alternate text was added to the Alt text box (see Figure 3).
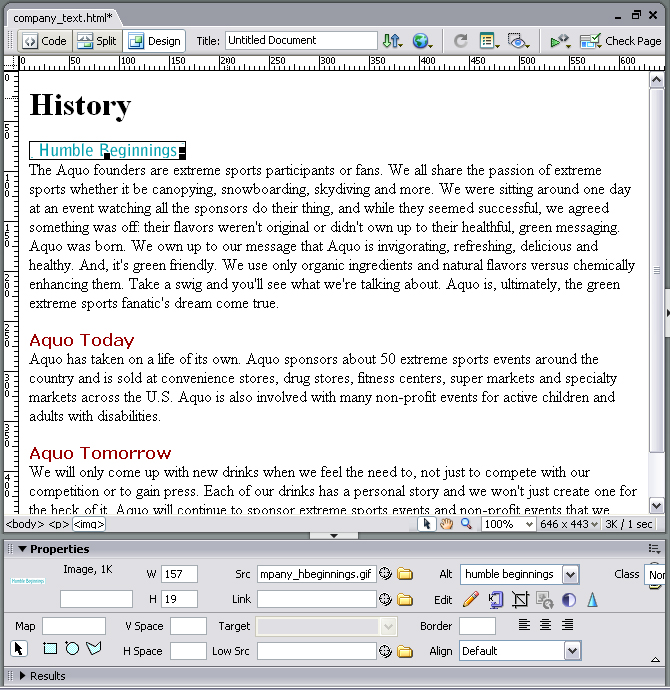
Figure 3: Insert an image by dragging it from the Assets panel.
- Delete the Humble Beginnings image. In the next step, you'll try inserting it another way.
- Choose the Files tab under the Files panel. Find the Hdr_Company_Hbeginnings image.
- From the Files panel, drag the Hdr_Company_Hbeginnings image to its original location in the Document window. Type humble beginnings in the Alternate Text text box and click OK. The image appears exactly as it did before.
- Select and delete it.
- Make sure that your pointer is inserted directly above the first paragraph. Go to the Insert bar at the top of the Document window. Choose Common from the pop-up menu, click the Down arrow next to the Image icon and choose Image. The Select Image Source dialog box appears; here, you can browse for the image on your hard drive.
- In the Select Image Source dialog box, browse to the Hdr_Company_Hbeginnings file and click Choose. The Image Tab Accessibility Attributes dialog box appears again; click OK to insert the image .
- Select and delete the image.
- You can choose images from anywhere on your computer, but if they're not in your site folder, they will appear as missing images when publish your site. Fortunately, Dreamweaver does its best to prevent this.
- On your hard drive, find the product_green.jpg file, which is not inside the root folder.
-
Drag the file to the Dreamweaver page, directly before the Aquo Today heading. Click OK in the Image Tab Accessibility Attributes dialog box that appears to insert the image (see Figure 4).
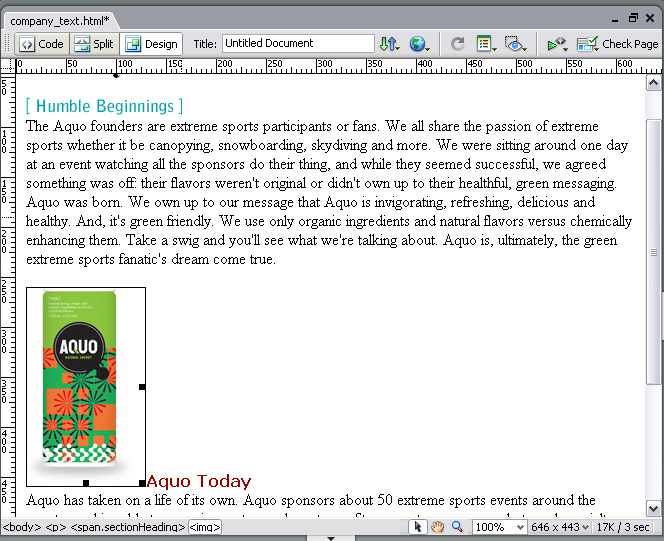
Figure 4: You can drag images into the Dreamweaver Document window from anywhere on your hard drive.
- Now Dreamweaver opens a dialog box and asks if you would like to copy the file to the site's root folder. Click Yes.
- Press Shift+F5 to refresh the view and have the file appear in the Assets and Files panels.
-
In the Property inspector, choose Left from the Align pop-up menu. Every image has an alignment property, which defines how text wraps around an image. The second and third paragraphs now wrap on the right side of the image (see Figure 5).
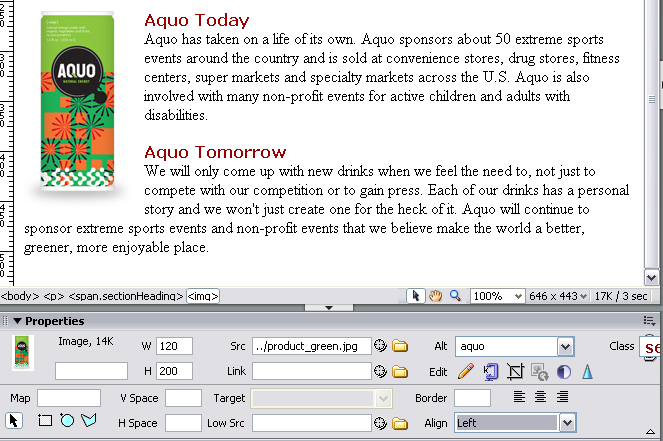
Figure 5: Wrap text around an image using the Align option in the Property inspector.
Where to go from here
For more information and additional tutorials, visit the Adobe Design Center.