Organizing the Navigation of your Sub-Menus with Pull Down Menus, is an interesting strategy that helps you optimizing the use of Stage-space, and makes you site more dynamic and attractive.
Making a Pull down Menu is a little more tedious than using it, of course, but you are going to learn a lot about organizing your content in Movie clips and managing Movie clips with buttons.
| This is our final product: a functional, Multiple Pull down Menu NAVIGATION: | ||
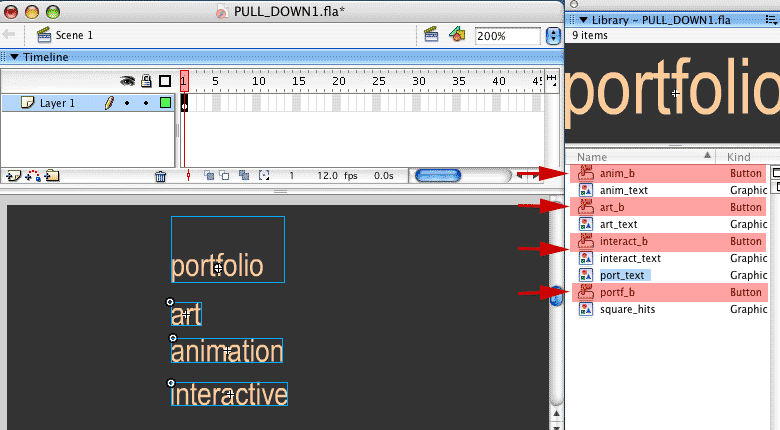
| STEP 1. | We are only going to build ONE Pull-down menu item in this exercise. |
||||
 |
|
||||
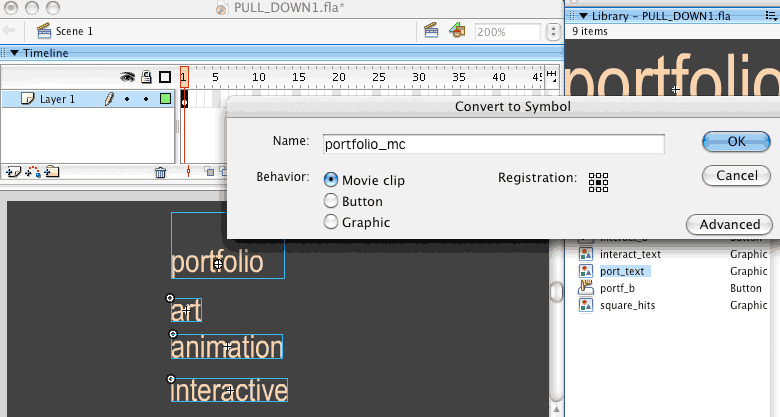
| STEP 2. | Select all the buttons and press F8 or Find MODIFY >CONVERT TO SYMBOL. Make a Movie clip symbol, with the name of your section, press OK. |
||||
 |
|||||
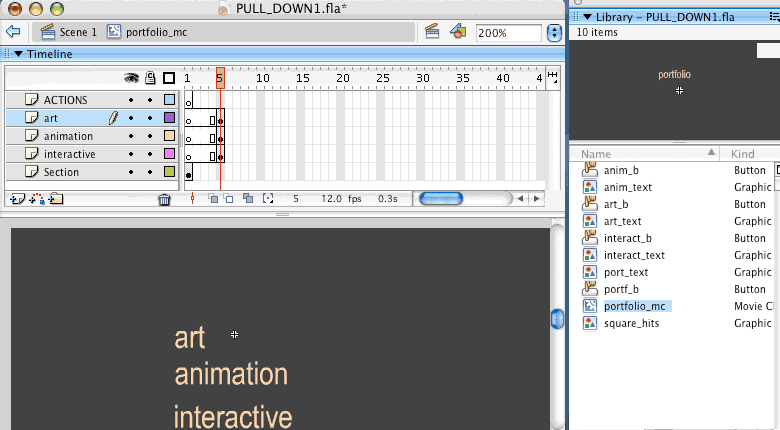
| STEP 3. | Once you are INSIDE the Movie clip divide the buttons, each one in their own layer: Move the 3 subsection keyframes to frame 5 (we don't want to see them at the very beginning) |
||||
 |
|||||
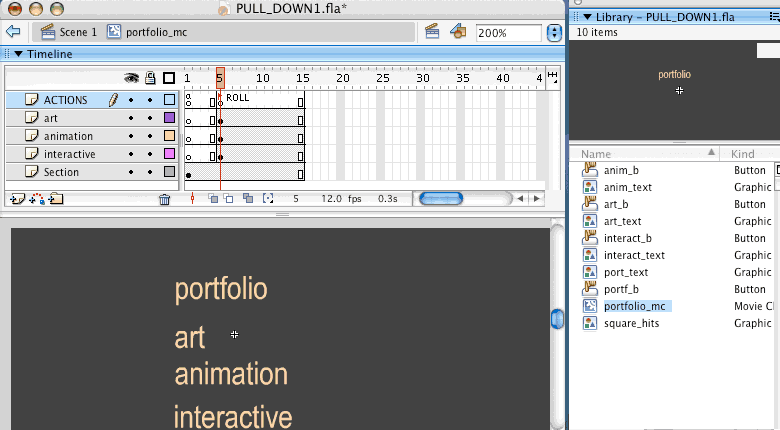
| STEP 4. | Add frames, at least to frame 15. |
||||
 |
|
||||
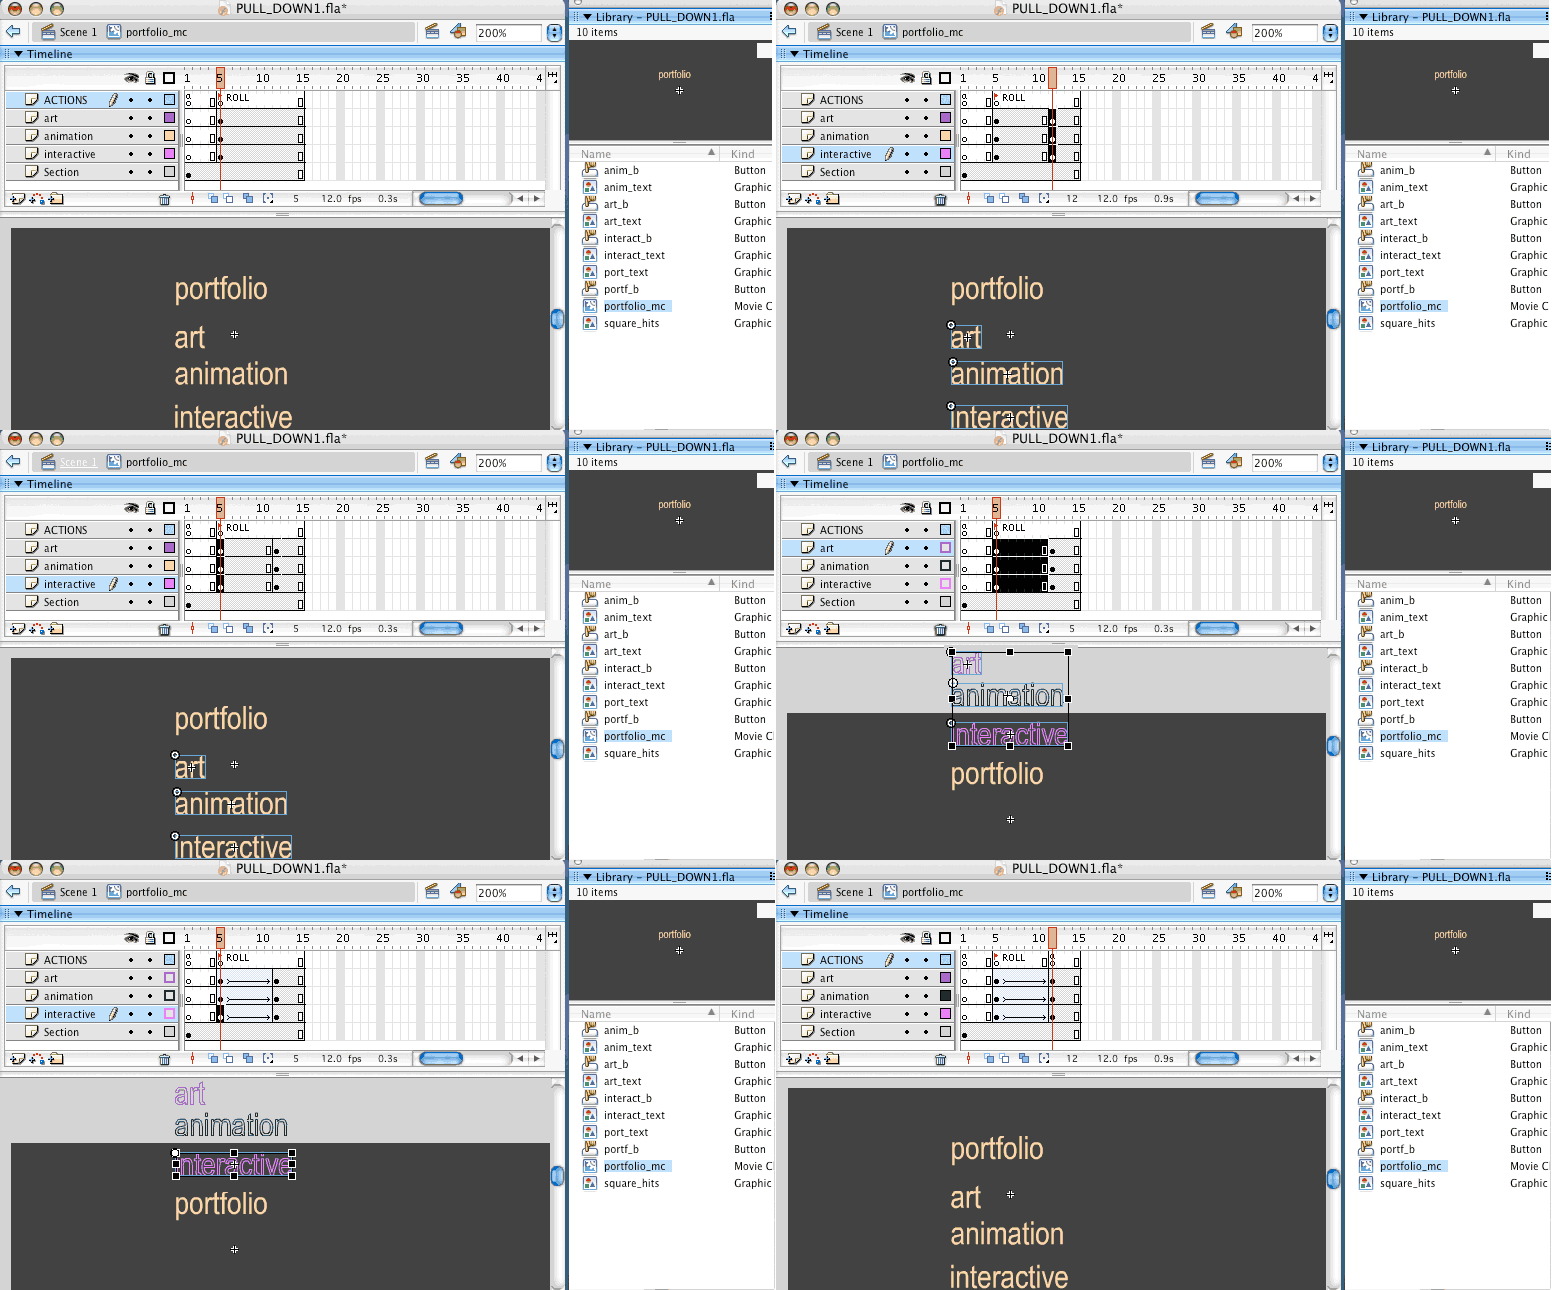
| STEP 5. | As you can imagine, on rollOver of the section button, the play-head is going to come to the Frame-label Roll, and we are going to see the 3 items appearing on screen. Later on we will make a mask for this, but right now you need to set up the animation of those submenu items, tweening from a place ON TOP of the section name, to their final placement under the section name. See the animated gif for this step: |
||||
 |
|||||
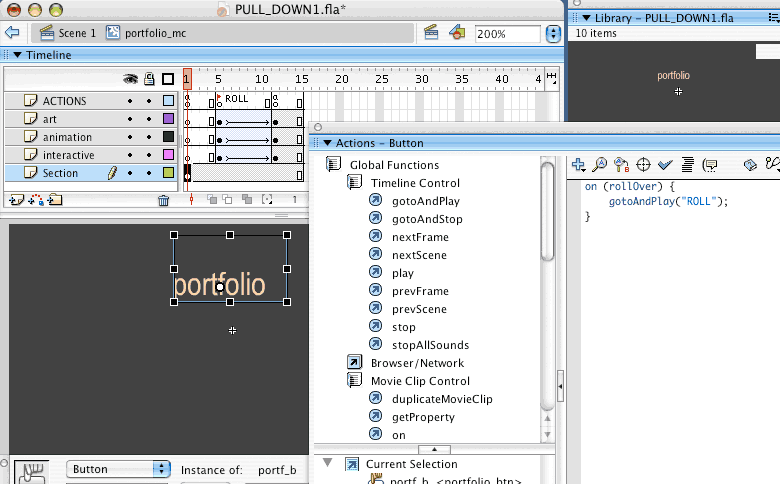
| STEP 6. | You need to insert a Stop() action at the end of your rollOver animation (Actions layer) |
||||
 |
|||||
| TEST 1 | Each one of the elements is a button with rollover color, when you rollover "portfolio" the animation triggers. |
||||
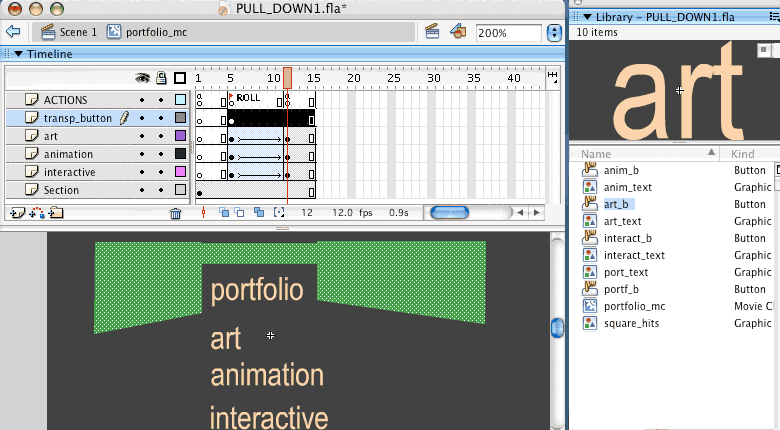
| STEP 7. | There is still a very important part of the functionality of the pull down menu that is still not in place: As you saw in the test, every time that I rollOver on the menu the animation begins again, but when I get away of the movie I am not coming back to the first position (frame 1: only section name). When I have several pull down item in place, I NEED my menu to "unroll" (to disappear) when I roll on another item. I am going to create a button, that takes us OUT of the submenu content if we try to move the cursor towards another menu item. For that I need to know WHERE the other submenus are going to be placed, and in this case the other menu-items will be placed inline horizontally with portfolio. Describing the area of this button is really a test&fix process, I am drawing it this way: |
||||
Drawing |
 |
||||
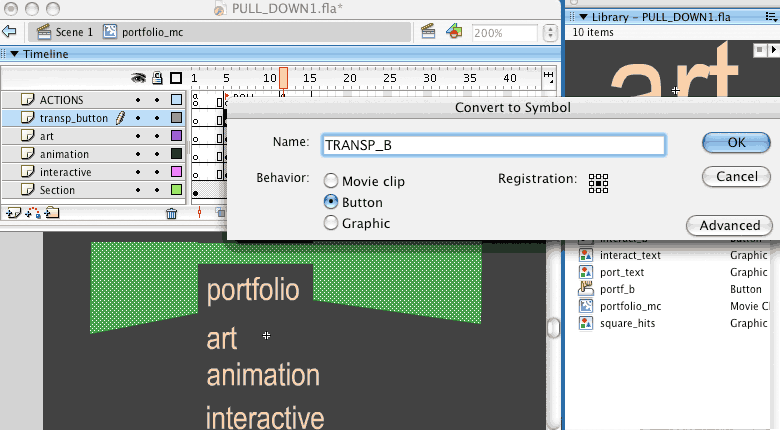
| STEP 8. | Select the area and make it a button called transparent button or similar. |
||||
Convert |
 |
||||
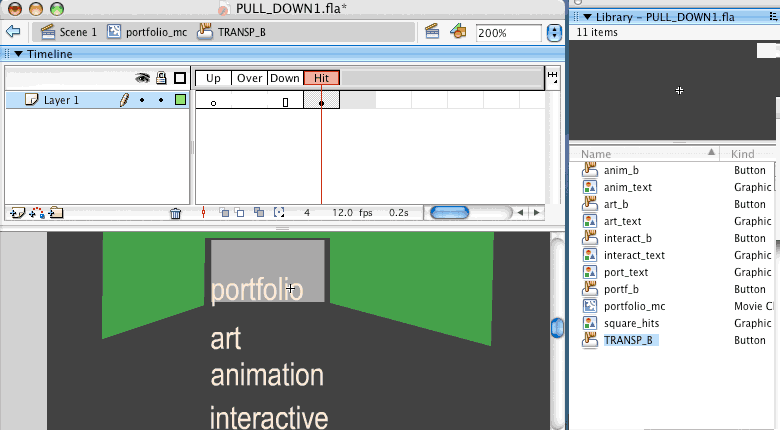
| STEP 9. | Delete the shape from the Up State and go directly to make a keyframe in the Hit-area. REMEMBER NOT TO SUPPER-IMPOSE HIT AREAS (see how we are avoiding the section's hit area) |
||||
Make it |
 |
||||
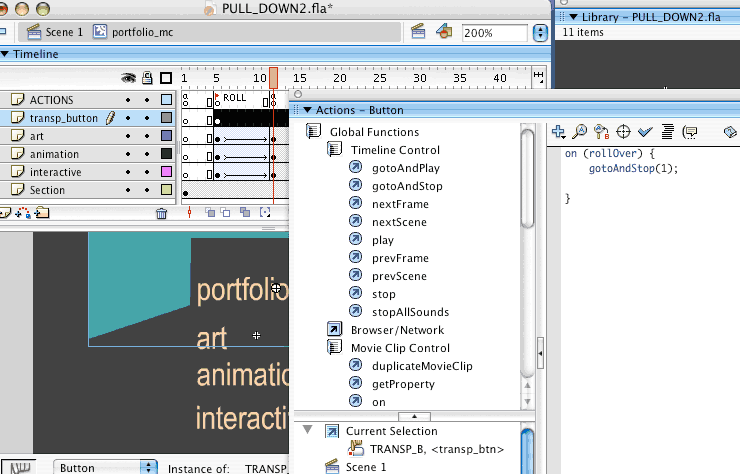
| STEP 10. | Add an Action to our new button. When the user rolls over the defined area (towards another section) the movie should come back to frame1 and leave the Stage clear, so another Pull down menu displays its content. |
||||
| Program the button |
 |
||||
| TEST2 | Check the Menu section and try to use the Navigation in different ways (slowly, quick, abruptly) to see if the functionality responds. You might have to modify hit areas a couple of times. |
||||