GDP111
Resolution-Grayscale

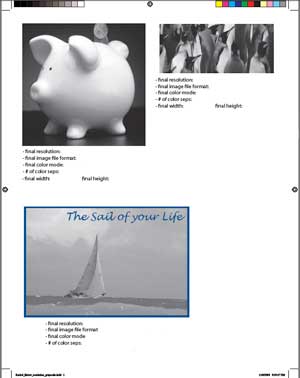
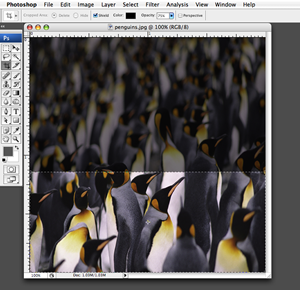
Directions:

To get started, work through the Photoshop Basics Tutorials:
Photoshop Basic Tutorials
Read through and practice
Lesson 1: Navigating the Workspace
Lesson 2: Working with Documents
* Navigator Palette & Hand Tool
* New View & Duplicate
* Image Size & Resolution
* Image Size Dialog Box
* Resizing Practice [V5.x] [V6.x]
* Canvas Size
* Crop Tool
* Crop Tool Practice

1. Download the zipped file provided.
3 jpg files (rez_grayscale.zip) (right click to download)

2. Open each image in Photoshop and prepare it by following the directions below.

3. Open an Indesign document 8.5"x11” and PLACE each prepared image on one page [see example to right].

4. After you have changed each image per directions and placed them in Indesign, copy and paste the following information next to or under each of the 3 images in your Indesign file and
fill in the correct info.
- final resolution ________ ppi
- final image file format _______________
- final color mode _______________
- # of color separations _______________
- final width _______inch and final height ____inch
- PDF saved with all Printer Marks ______(Y/N)

5. Preview your Indesign doument to be sure you have converted all of your images to grayscale and have used only one spot/solid color and one spot/solid color PLUS black for the "boat" exercise. This is viewed in Indesign. [Separation Preview video tutorial] WINDOW>SEPARATIONS PREVIEW

6. Package the Indesign document.
....YouTube Video tutorial

7. Export as PDF and include All Printer marks.

8. To check the PDF has the correct separations
Open Acrobat Professional and go to
Advanced>Print production>Ouput Preview.

9. Upload PDF to Moodle.

________________________________________________________

• Piggy - Points: 35
Image is to be offset printed as grayscale with a resolution of 300ppi
1. Go to IMAGE>MODE>GRAYSCALE to change the color mode from RGB to grayscale

2. Set the correct resolution by going to IMAGE>Image size >uncheck RESAMPLE>type in the correct RESOLUTION and Photoshop will automatically interpolate the image to the correct dimensions.

What is Interpolation?
The idea behind Interpolation is to increase the file size of an image without creating a pixelated look for the finished product. Interpolation is the act of increasing the number of pixels based on the original pixel information and is generally used when trying to make large print from a high quality, but relatively small image.

3. Save as a tif format.

• Penguin - Points: 30
This 2x2” image is to be used as a grayscale image on a one color post card. The client only wants to use the bottom 1.5” section of the finished piece. The layout requires the final image to be 3.5” wide by 1.5" tall. The correct resolution will be 300ppi.

1. Crop image using the cropping tool and rulers to measure the image. OR constrain cropping proportions using the cropping tool measurement bar found at the top of your screen. Just type in the correct information. Then select the crop tool and drag across the full width of the image. You can move this cropped area up or down for cropping. Notice that the cropped area is constrained and proportioned to the size you typed above. See sample at right. [Note: Keep resample checked, you will be interpolating the image.]

2. IMAGE>MODE>Grayscale

3. Save as aTif file.

• Boat - Points: 35
Image is to be printed in grayscale with a 266 ppi resolution. The width of the image must be 5”.
The final layout will be TWO colors, BLACK (grayscale) plus a Solid Pantone coated color for text and frame.

1. IMAGE>MODE>GRAYSCALE

2. Choose the correct resolution and size
IMAGE> Image size > type in correct RESOLUTION > type in the correct width.
[Because the resolution and physical dimensions are SMALLER than the ORIGINAL, you can interpolate the image without losing any image quality. If resample is checked, you will be interpolating the image.]

3. Save as a tif file.

4. Place the boat file in InDesign and add a 3 point Pantone solid color frame (choose any color).

5. Add the following text (in InDesign) and place the text box in the upper right hand section of the boat image.
Use the SAME Pantone solid color for the text.
TEXT: The Sail of your Life
Font and size: your choice


Crop Tool in Photoshop

How to Crop in Photoshop

...another video on how to crop in Photoshop CS6